So one of the things I hate is poking myself with any sort of pins or needles. Not ideal as a seamstress but alas here I am. I am normally careful and use fewer pins than I need. Prior to delving into historical sewing I also didn’t hand sew much.
However, with more and more projects needing the control hand sewing provides it became clear I needed finger protection.
Having left Joann’s at least three times without buying a leather thimble I decided I would just make one. I had a lovely scrap of leather that would work for a thimble and a second loop for maximum finger safety.
I did some quick research and came across this tutorial on youtube. It seemed pretty straight forward so I gathered up my supplies and got to work!
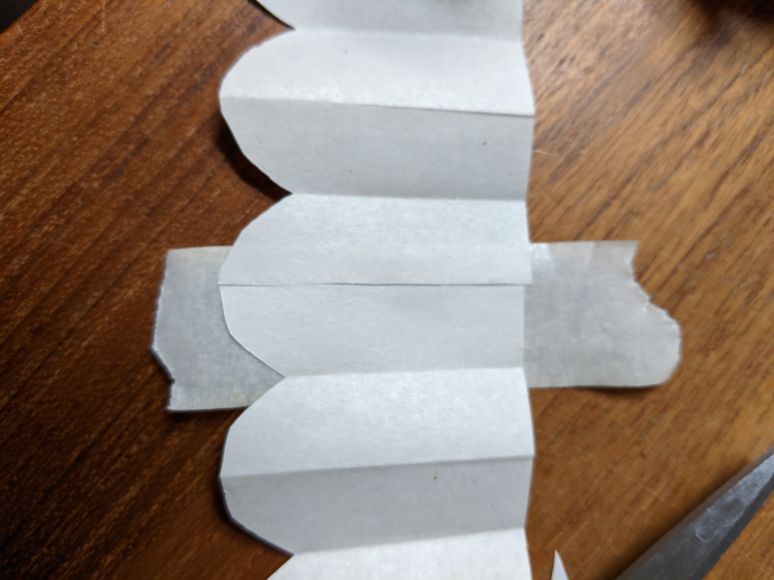
Step one was to lay out my pattern.

As you can see the first few times I got this…it wasn’t going to work.

Nothing tape can’t fix!

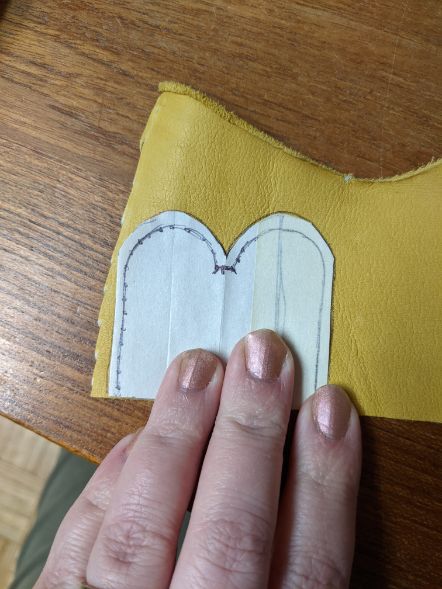
Next up was to transfer to the leather. I also marked out what should be the holes to help stitch through.
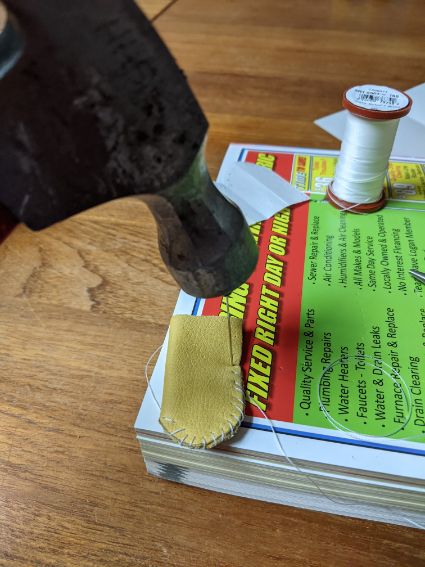
I probably should have used a leather needle. But nothing pliers, and a hammer couldn’t fix!

I used a nail and one of my pins to make holes and then forced the needle with the upholstery thread through. Good thing we still get a phone book! Sewing probably took a half hour or so.
I basically repeated the same thing for the loop. I cut a rectangle and then punched the holes and used a crisscross to join the edges.
Final product!

I got to try them out sewing up some seams on my drawers. Verdict, they work well and I was able to sew what I needed with out getting a needle in my finger tips.
