When your sister shows up with just a touch over 7 cups of fresh raw goats milk, you do the only logical thing and make cheese.
**The big disclaimer**
If you live in the US you should per the FDA have your milk pasteurized. You can read why here.
**End Disclaimer**
So back to the cheese
Let me start with, you can make cheese from pasteurized milk. I have done it several times. However, I have always wanted to try raw milk. From what I read it would curdle better and make a tasty cheese. But with regulations, you have to find a farm or person with milk giving critters who are willing to either share or let you co-own an animal. Possible but requires some effort.
So if you want to jump in and follow along to make your own cheese please do! Homemade cheese is a very medieval food. If you ever want to step up your snack game bring a nice soft fresh cheese. Every time I have gone to an event with cheese I never come home with any left.
The Tools
- Stainless steel pot- you want non-reactive.
- Spoon or scraper to stir with.
- Measuring cup
- Thermometer
- Cheesecloth
- Strainer
- Bowl
The Food Stuff
- Milk- If you can’t get Raw get the highest milk fat you can.
- Lemon Juice- Fresh if you want but the stuff in the bottle works too
- White Vinegar
- Kosher Salt- You need a non-iodine salt.
- Any seasonings- Herbs, peppercorns ect.
Proportion wise we used 1 qt goat milk to1/3 cup lemon juice and 2 Tbsp vinegar white for our ratio. You may need more you may need less.
The Process
Start with getting set up. Cheesemaking is sitting around for an hour for a few minutes of action.
You will want to layer your cheesecloth over the strainer, criss-cross it. You want to drain the whey off not lose the little chunky bits of cheese.
At this point, you can put a bowl under to catch the whey, or we just let it drain the sink. I don’t bake enough to keep it.
Add your milk to the pot and set the temp to medium low.
You do not want scorched milk. You will not get tasty cheese. So stir often and keep checking your temp. It should be a slow process, high heat will give you grainy cheese.
We are aiming for 180-185F. This will get us pasteurization and kill off any yucky yucks.
At this point cut the heat. Pour in, slowly, the Lemon Vinegar mix. Give a little stir to check if you are getting separation and then let sit for about 5 minutes to let it do its thing. If you come back and it is still not separated add a little more lemon or vinegar.
Give another little stir to make sure you have achieved separation and then slowly pour into your cheesecloth. Sprinkle in salt at this point. You can also add any other flavorings or wait and mix them in after it is ready.
Now you need to let it drain. I leave mine over the sink until it slows and then put it in the bowl in the fridge to finish draining.
At this point the cheese is ready. Again the suggestion is to let it sit for 60 days…but let us be real. It will not last that long.
I think we got too much lemon in but given we both like lemon and I loath vinegar so I call it a win. We both agreed that it lacked the goat taste you tend to get with store-bought goat cheese. It was very creamy and fresh. What fo they say happy goats happy cheese?
It may yet develop a tang with age but again I don’t mid that.
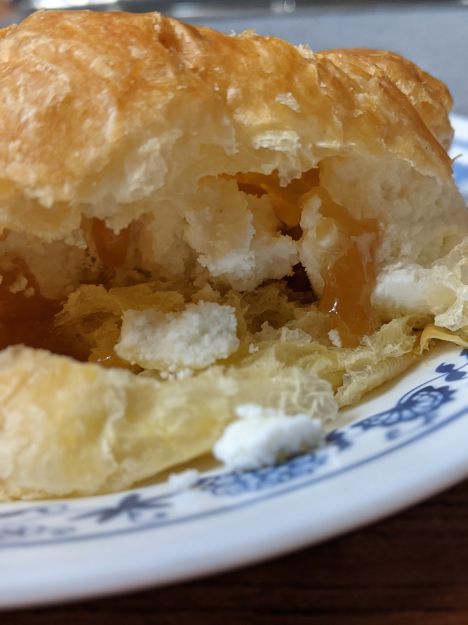
We served ours on croissants with a little drizzle of honey for breakfast. A nice cup of Odyssey Coffee and called it a success.

