The lovely Maridith had highlighted in her Instagram stories that Emilee from Our Shield Maiden was hosting a summer sew-along. 18th-century pockets! For those who remember I had a pair of 16th-century ones started from C3 that got shelved.
I decided; why not? I have been feeling a little bit down about getting sewing projects done and have been needing some easy-win goals to help get over it.
The kick-off was June 4th! Armed with the instructions, the template Emilee sent out, and the encouragement on the discord group I was ready to go!
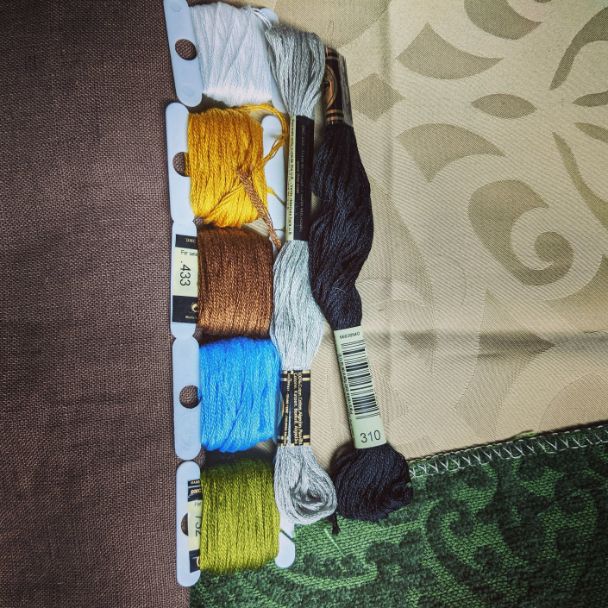
I chose some brown linen I had leftover and then a green velvet brocade and gold brocade both samples of upholstery fabrics I had picked up long ago. The thread came out of my embroidery stash.
I spent the first week on a trip and despite packing my fabric the only thing I got done was working out a design.
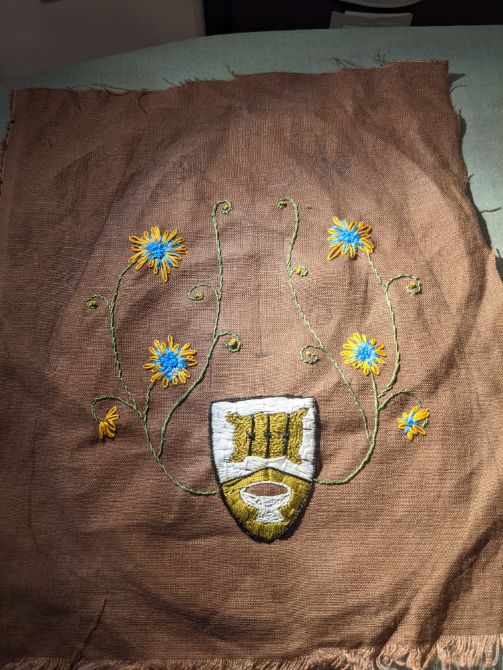
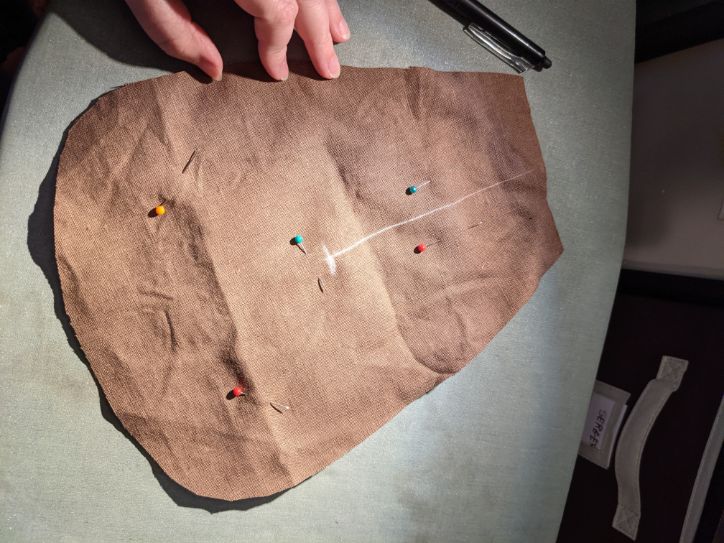
Once home and into week two I jumped back in determined to make up time. I started with cutting out the pocket back and middle layer. The front I ironed and then used spray starch to help work out the wrinkles. From there I traced out the pocket and freehanded my design using a frixon pen.
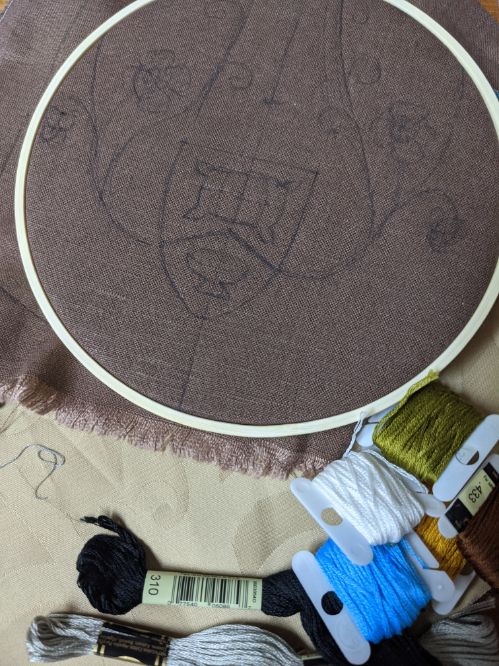
As a side note at the time I didn’t realize the pen and the starch wouldn’t fade away. So if you do the same done one or the other.
After that week three was just working on my embroidery. I had done my device and it took far longer than I expected but was well worth it. The issue started when I moved on to the flowers. They had seemed simple enough when I drew them but once started the stitching I had planned on using paired with the rounded-edged just came out messy and time-consuming. So I switched to more of a lazy daisy and french knot to make beautiful flowers.
This took me up to the final week. At this point, I was nearly done with my embroidery and ended up altering my design to ensure I would finish.
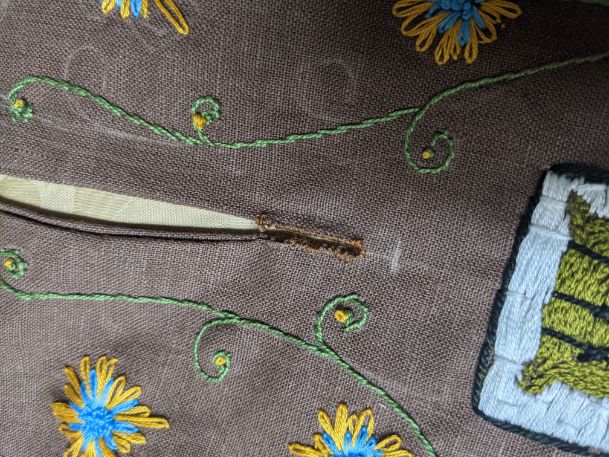
The tricky part came on how to bind the opening to the pocket. I decided to go with a similar method to how I do keyhole necklines. You can find that tutorial here at Ilsa Makes Things. I decided to back it with more of the linen as the green velvet had a rather ugly backing being just a sample I used the gold to line it. This ended up giving me 4 layers over the three. It made it slightly bulky to work with and I decided to finish up on the sewing machine. I had bias tape that I used to finish the edges and without twill tape, I simply folded it over to make the ties.
At that point, I had a finished pocket!
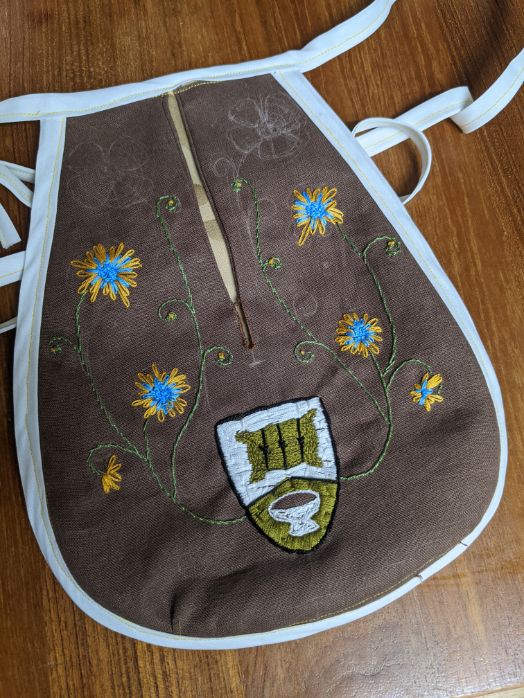
I am really excited to have been part of this sew-along and to get my pocket done!
I have been using the pocket too! Most of my maternity clothing lacks pockets and after misplacing my phone several times I found this to be the best solution!


